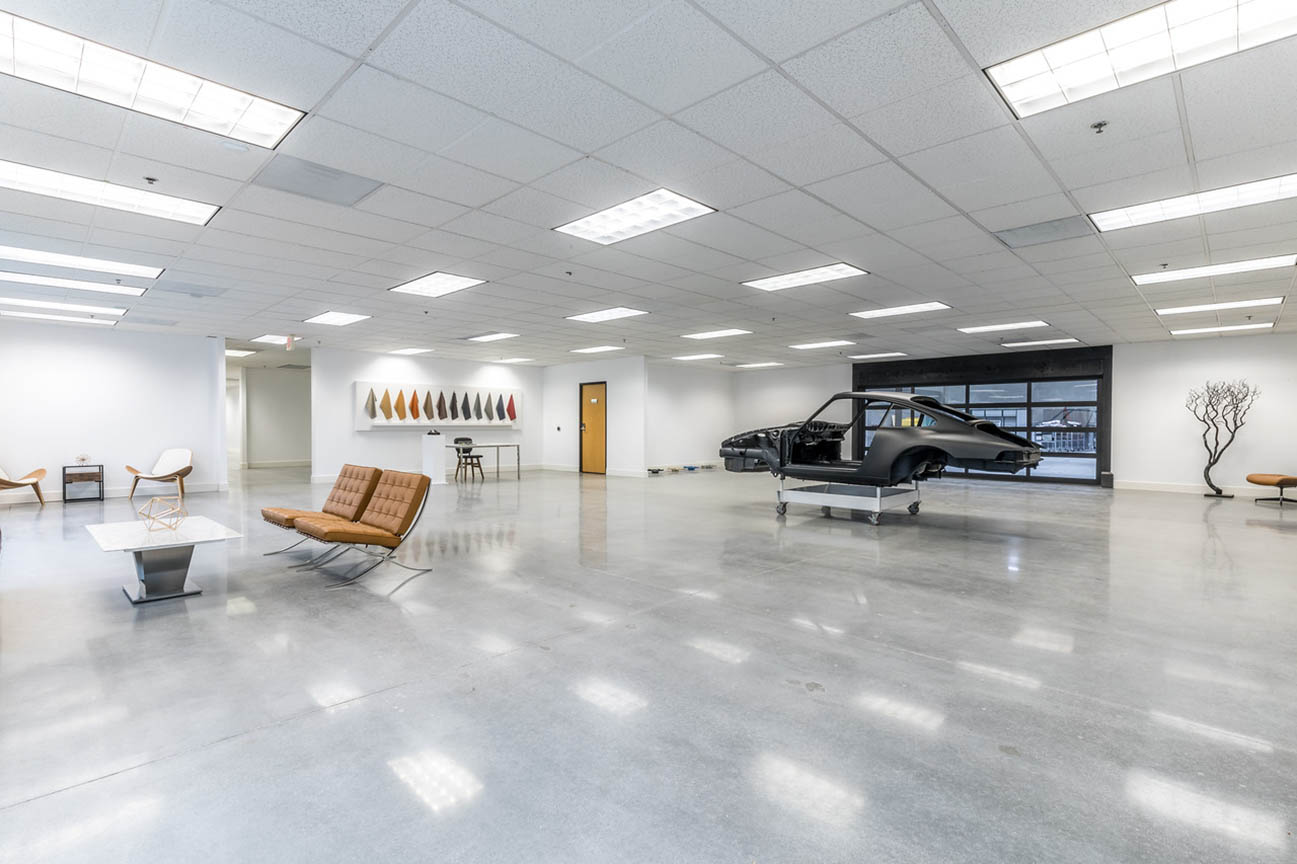
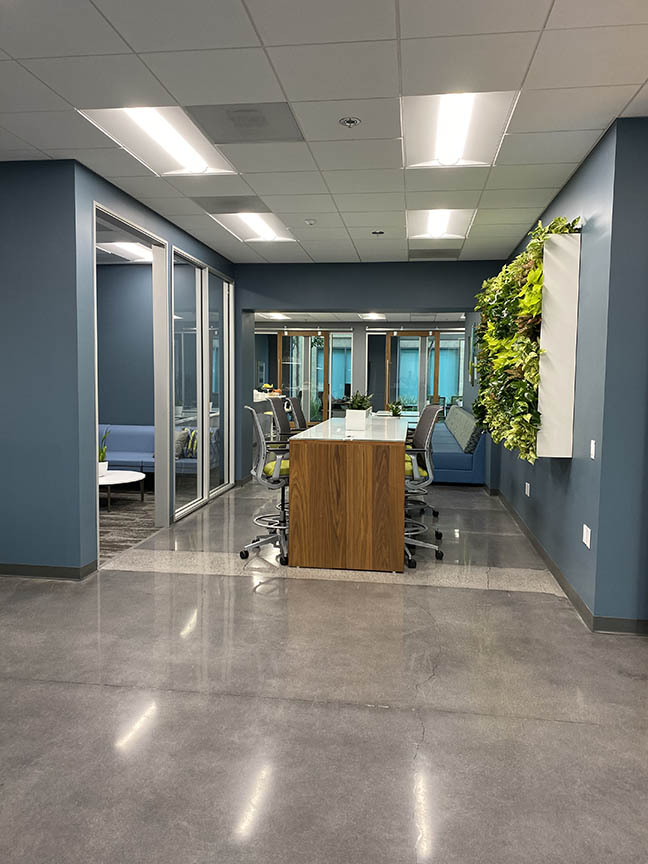
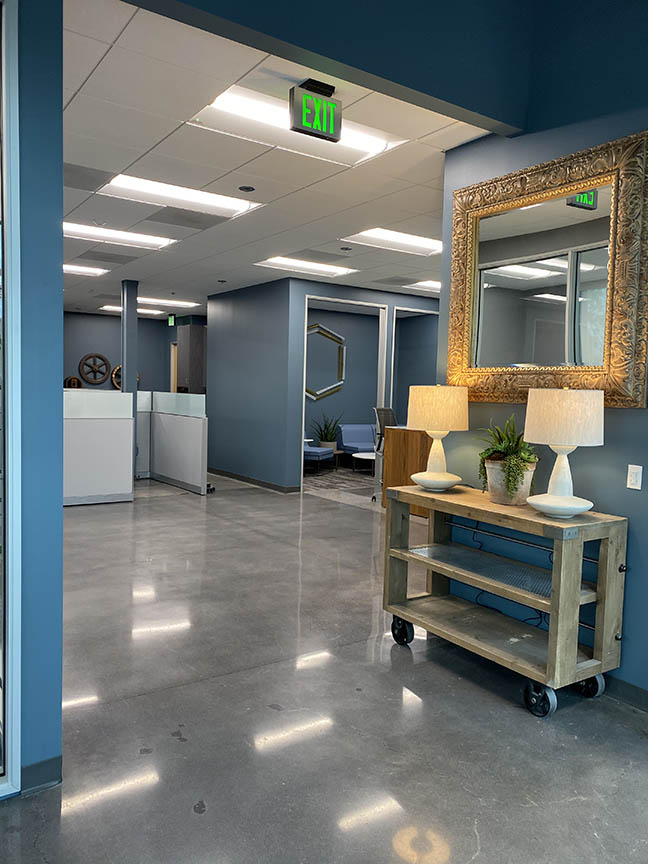
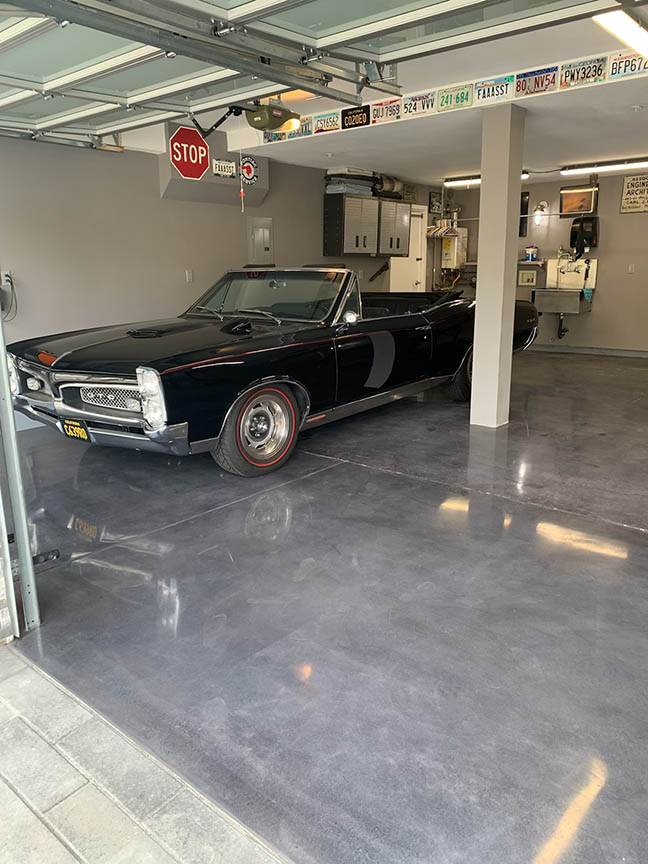
Commercial And Residential Polish
The Polished Concrete system (Also referred as “Diamond Polished Concrete” DPC) is created by grinding the concrete surface (same initial starting process in the “Grind and Seal” system). After the initial grind process the concrete receives several passes with different grades/grits and diamond tooling along with application of an integral liquid densifier at specific stages of this processing. This densifier product reacts with the cements, in the actual concrete mix which hardens and increases the internal and most importantly the surface strength of the concrete. The densified surface is then “Honed” or “Polished” to achieve the desired sheen/gloss level (described below). After this diamond processing is completed the surface is then is burnished to remove any leftover haze residues along with our stain guard surface protectants. The Polished Concrete system is widely used and accepted as a premium finish system to the Grind and Seal process but is not always necessary for every application. Please consult with a rep of Polish Gurus for any specific details you need to see which option suits your needs the best.
Price variables…
1. Glues/Resins/Mastic/Thinset to remove first increase price.
2. Grit level of polish 100/200, 400, 800, 1500, 3000. Higher the grit increases price and shine level.
3. Natural concrete color or added dye stain increases price.
4. Price ranges for residential and commercial can vary based on different psi strength of concrete, greater sq footage and how open the room is lowers price points i.e. smaller rooms have more “edge work” so that has slight increase in overall price.
Polish “sheen” levels…
Level 1 (satin/matte)
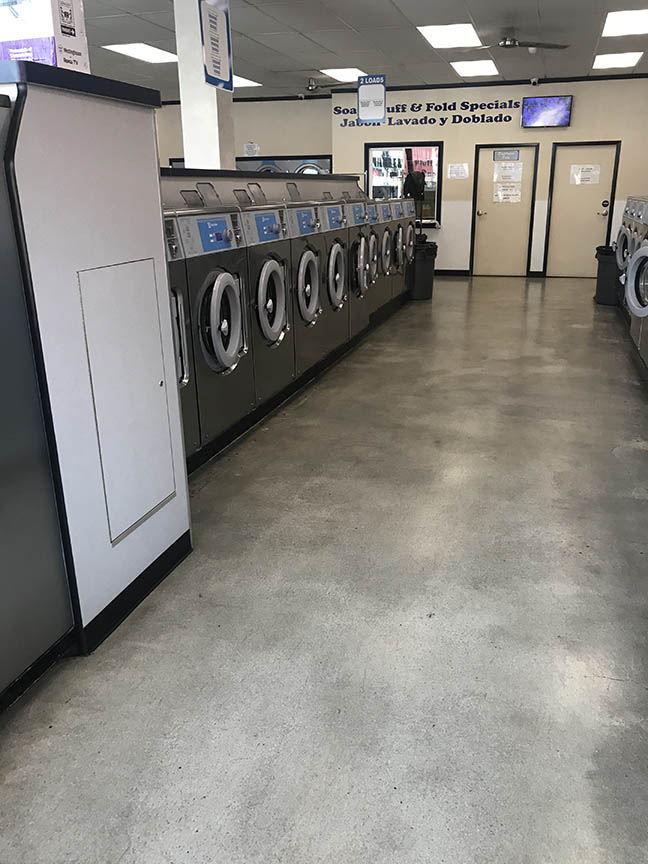
A level 1 polish is considered more of a “honed” finish than a true polishing step. The finish can usually be obtained by stopping with the 100/200 or 400-grit which is the first pass of resin diamonds after the original aggressive “cutting” diamonds are used in the process. When you look directly down at the floor, it will appear somewhat matte with little if any reflection.
Level 2 (semi gloss)
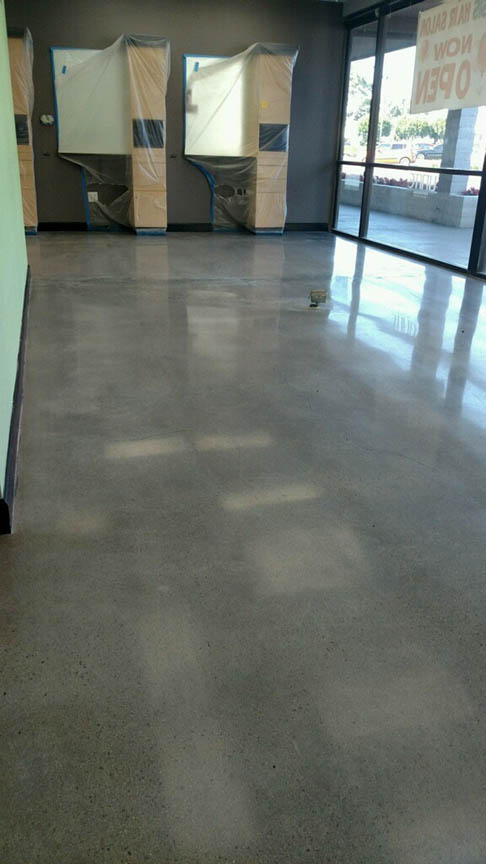
A level 2 polish is obtained by stopping at 400/800-grit resin, producing a low gloss/semi gloss sheen finish. This grit level produces a nice low-luster reflective gloss finish that’s the most popular in residential applications.
Level 3 (gloss)
A level 3 polish is achieved by going up to a 1500-grit resin. The surface will have a MUCH higher sheen than that of a level 2 finish, and you’ll start to see great light reflectivity and a fairly shiny surface.
Level 4 (high gloss)
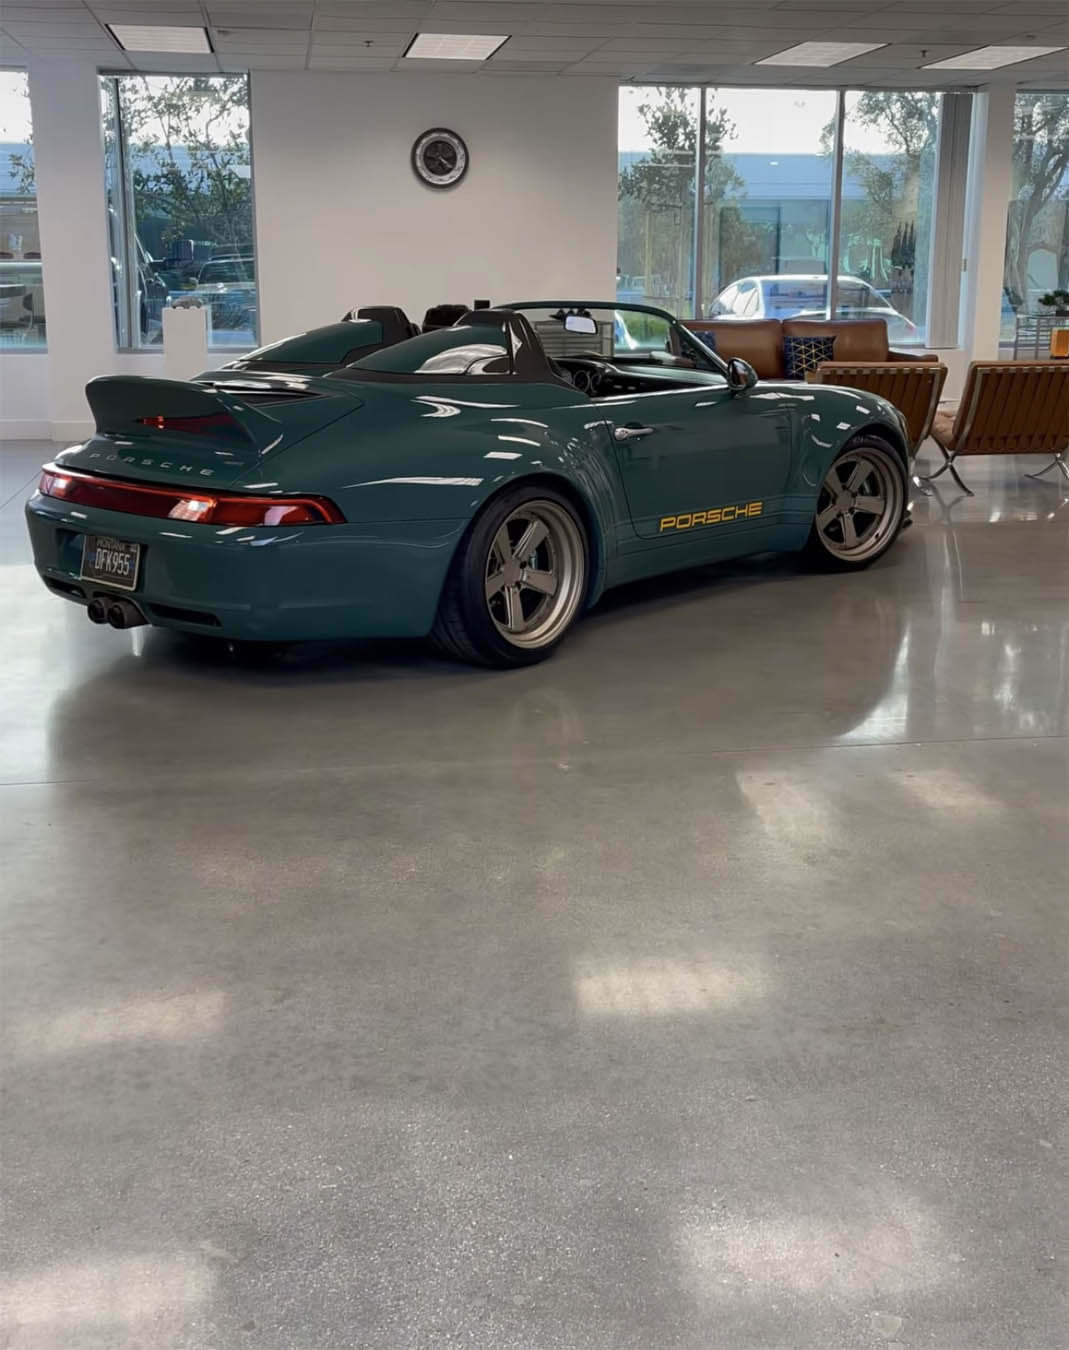
This level of polish produces a high degree of shine, the floor appears to be wet and highly reflective. A level 4 polish is obtained by going up to a 3,000-grit.
General Grinding
Before the concrete polishing process begins, Infinity conducts a floor hardness test to determine which diamond tooling to start with. If any patch repair is needed, this is completed prior to the rough grind i.e. larger holes filled, tack strip holes filled, cracks are managed, etc.
Unless there is an epoxy or glue on the floor, the first step of the process involves abrasive “rough” grinding of the concrete with one of the following grits: 16/20 ~ 30/40 ~ 60/80 or 120/140.
Depending on the hardness of the concrete, our diamonds may be Soft Bond (for extremely hard concrete), Medium Bond (for hard concrete), Medium/Hard Bond (for normal average concrete). No matter which grit diamond we start with, we always end with our 120/140 metal bond hybrid diamonds.
After we complete the initial rough grind process using our metal bond hybrid diamonds, we begin the series of “resin pads” and typically continue to 100/200 grits.
Apply Stains and Densifier
If applying stains, we apply them after we complete the 100/200 grit resins. After removing a thin layer of concrete, the concrete itself will become soft and porous at the surface to allow the maximum penetration of stain products. After the stain has dried (If using concrete stain) we apply the concrete densifier liquids (high or low solids in viscosity) keeping the slab wet anywhere from 20-40 minutes. Applying these densifier products will internally harden the concrete and thus becoming one of the most important factors and processes in the polishing sequence. Sometimes a second coat of concrete densifier is used depending on the overall density of the concrete slab and rejection of product.
“Honing” The Concrete
After our concrete stain/densifier process has completely dried, we continue the polishing process with 200 grit diamond resin pads. During this step of the process, the concrete will begin to have a low sheen.
“Polishing” The Concrete
Once we complete the 200 grit “honing” process, we continue and finish the polishing process using the remainder of our diamond grit resins; 400, 800, 1500 or 3000 resins.
The final 2 steps (1500/3000) are completely optional depending on the amount of gloss the customer wants. If our customer decides to continue through to the 3000 grit resins, the concrete should have a mirror-like finish that resembles the look of glass.
Completion
We end the concrete polishing process with an optional “stain guard” and high speed floor burnishing. This will give the concrete its ultimate shine protection and finish buff.
Summing It Up
- Complete hardness test
- Repair if cracks and holes
- Grind the concrete using 16/20 ~ 30/40 ~ 60/80 or 120/140 grit metal bond diamonds
- Complete the rough grind process using 50 ~ 100 and 200 grit hybrid resin diamonds
- Apply stains and densifiers
- Continue polishing with 400 ~ 800 ~ 1500 and 3000 grit diamond resin pads (depending on desired sheen level)
- Complete the concrete stain guard and burnish process if applicable
Densifier and Stain Guard spec sheets
http://www.ameripolish.com/
http://www.ameripolish.com/
